The 7 JS Array Methods you will need in 2021
07 January, 2021 • ☕️ 5 min read

JavaScript gives us a TON of different methods for dealing with arrays. We’ll go through the 7 essential ones for you to improve your JS development skills in just a couple of minutes.
1. Array.map()
Whenever you use the .map() method on an array, it will create a new, modified version of the original array. The .map() method takes a function that allows you to loop through all the items in the array and modify them.
The .map() method will come in handy whenever you want to update all the items in an array and store it in a new one.
Let’s say we have an array containing car brands:
const cars = ["Porsche", "Audi", "BMW", "Volkswagen"];Of course, we think all of the cars are pretty cool and want to add some text expressing that. We can do this using the .map() method:
const coolCars = cars.map(car => `${car} is a pretty cool car brand!`);
// Result:
["Porsche is a pretty cool car brand!", "Audi is a pretty cool car brand!", "BMW is a pretty cool car brand!", "Volkswagen is a pretty cool car brand!"];
Awesome! The .map() method has created a new array and added the text to each item.
Something that’s also nice to know, is how to handle an array containing objects using the .map() method.
Let’s have a bunch a cars with a price without tax and add the price containing the tax using .map().
const carsWithPrice = [
  {brand: "Porsche", price: 100000},
  {brand: "Audi", price: 80000}
];
const carsWithPriceAndTax = cars.map(carObject => {
  return {
    // Return the original car object
    ...carObject,
    // but also add a new value containing the price with tax
    priceWithTax: carObject.price * 1.2
  }
});
// Result:
[
  {brand: "Porsche", price: 100000, priceWithTax: 120000},
  {brand: "Audi", price: 80000, priceWithTax: 96000}
];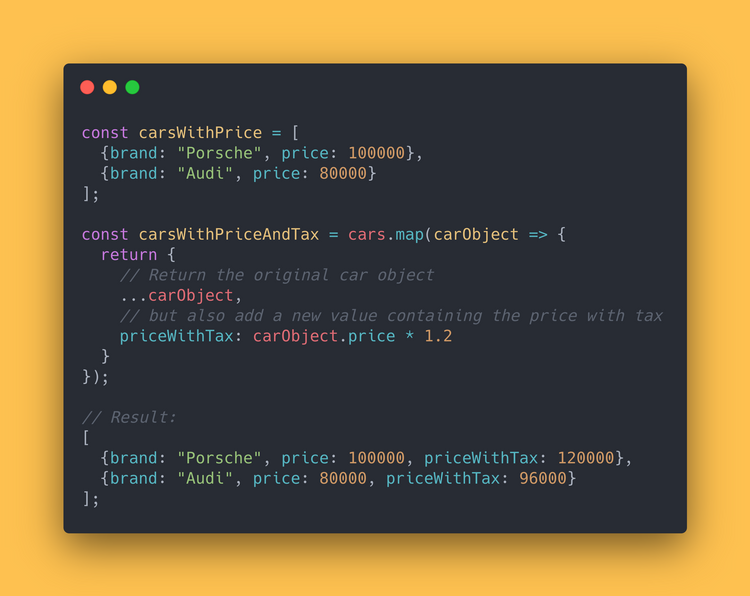
All in all, the .map() method is an extremely versatile way to create a new array, modify its contents, and keep the original array intact.
When to use Array.map()?
When you want to modify the contents of an existing array and store the result as a new variable.
2. Array.filter()
You almost guess what this method will do.
The .filter() method allows you to get items in an array based on a certain condition.
Just like the .map() method, it will return a new array and leave the original array as it is.
For example, using the car example, we can filter the array based on a car’s price being above a certain value.
Here, we have all the cars available:
const cars = [
  {brand: "Porsche", price: 100000},
  {brand: "Audi", price: 80000},
  {brand: "Toyota", price: 30000}
];
Now let’s say all cars worth 40,000 or more are expensive.
We can use the .filter() method to get all the “cheap” and “expensive” cars in two different arrays.
const expensiveCars = cars.filter(car => car.price >= 40000);
const cheapCars = cars.filter(car => car.price < 40000);
// Result - Expensive Cars
[
  {brand: "Porsche", price: 100000},
  {brand: "Audi", price: 80000}
];
// Result - Cheap Cars
[
  {brand: "Toyota", price: 30000}
];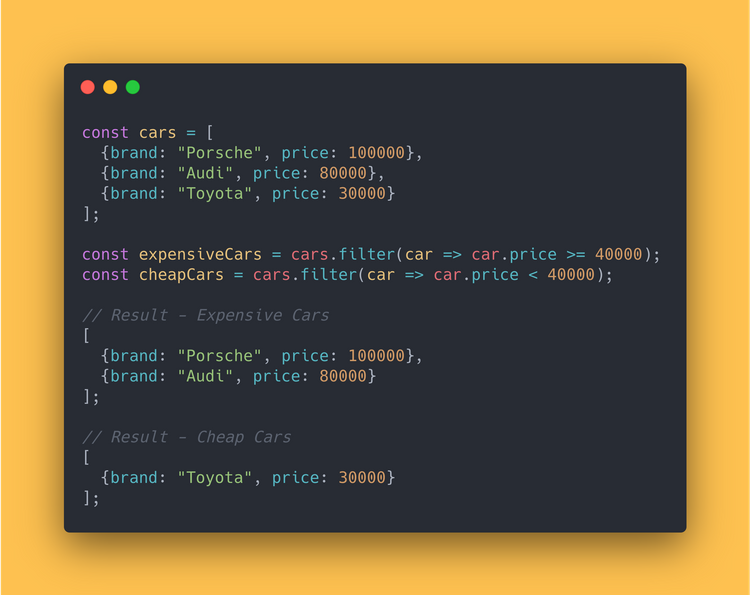
Each item of the array is checked to see if it fits the criteria, if it passes the test it is returned within the new array — awesome!
When to use Array.filter()?
When you want to remove items from an array that don’t fit a certain condition/criteria.
3. Array.reduce()
Now this one can be a little bit more tricky to understand.
Put simply, calling .reduce() on an array reduces it down to a single value after executing a function on each item of the array.
The .reduce() method takes a callback function as its first parameter and an optional initial value as its second parameter., if an initial value is not supplied the first array value is used. The callback function provides an accumulator and currentValue parameter used to perform the reduce calculation.
I get that this might be a little complex, but that’s alright.
Here’s a simple example to showcase the use of the .reduce() method:
Let’s say we want to get the total value of all numbers in an array.
const numbers = [13, 65, 29, 81, 47];We can then use the .reduce() method to add all these values together.
const total = numbers.reduce((accumulator, currentValue) => accumulator + currentValue, 0);
// Result - Total:
235
Another way to use the .reduce() method, is to flatten an array. There are already quite a couple of ways to do this, and this is one of them.
const flattened = [[0, 1], [2, 3], [4, 5]].reduce(
  ( accumulator, currentValue ) => accumulator.concat(currentValue),
  []
)
// Result - Flattened:
[0, 1, 2, 3, 4, 5]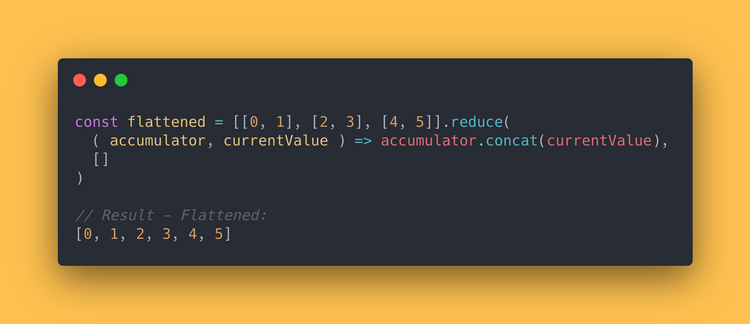
When to use Array.reduce()?
When you want to convert an array down to a single value by manipulating its values.
4. Array.forEach()
Ah, now this is a classic.
The .forEach() method works a lot like a regular for loop.
It loops over an array and executes a function on each item. The first parameter of .forEach() is a callback function that includes the current value and index of the loop.
Let’s look at an example using our cars:
const cars = [
  {brand: "Porsche", price: 100000},
  {brand: "Audi", price: 80000},
  {brand: "Toyota", price: 30000}
];
We can loop through all and console.log a sentence containing its brand name and the price of the car.
cars.forEach(car => {
  console.log(`The ${car.brand} will cost you ${car.price} before taxes`);
});
// Result:
"The Porsche will cost you 100000 before taxes"
"The Audi will cost you 80000 before taxes"
"The Toyota will cost you 30000 before taxes"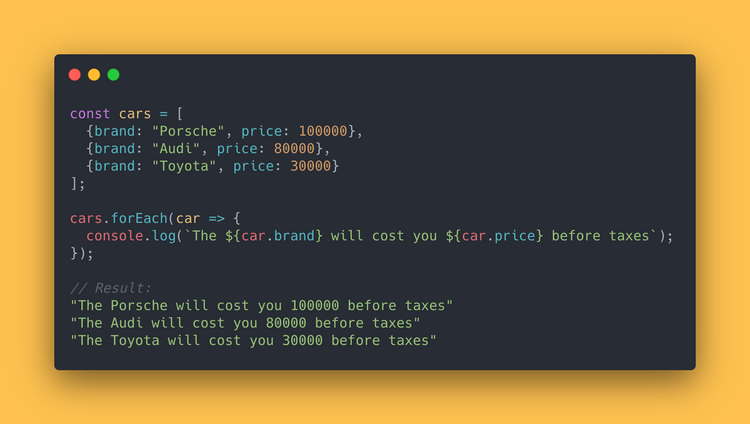
When to use Array.forEach()?
When you want to simply loop over each item of any array without constructing a new array.
5. Array.find()
The .find() method looks a lot the .filter() method you read about earlier.
Just like the .filter() method, you’ll be able to pass a condition which the value of the array must match.
The difference between the two, is that .find() will only return the first element that matches the condition you provided.
Using the car example, let’s get the first expensive car that we encounter in the array using the .find() method.
const cars = [
  {brand: "Porsche", price: 100000},
  {brand: "Audi", price: 80000},
  {brand: "Toyota", price: 30000}
];
const expensiveCar = cars.find(car => car.price >= 40000);
// Result - Expensive Car:
{brand: "Porsche", price: 100000}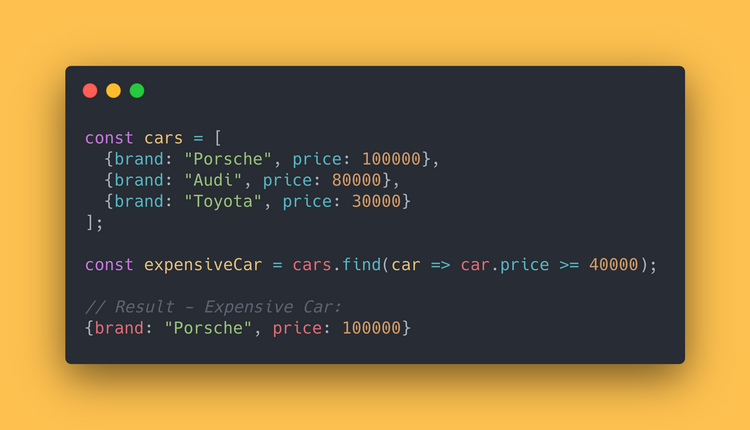
When to use Array.find()?
When you need to get the first item of an array that passes an explicitly defined test.
6. Array.every()
Maybe you can already guess what this method will do.
The .every() method will check if every element in the array passes the provided condition.
If all elements in the array pass the condition, the method will return true. If not, it’ll return false.
For example, we can check if all cars are built within the last 5 years using the .every() method.
const cars = [
  {brand: "Porsche", price: 100000, builtIn: 2018},
  {brand: "Audi", price: 80000, builtIn: 2019},
  {brand: "Toyota", price: 30000, builtIn: 2019}
];
const carsYoungerThanFiveYears = cars.every(car => car.builtIn >= 2016);
// Result - Younger than 5 Years:
true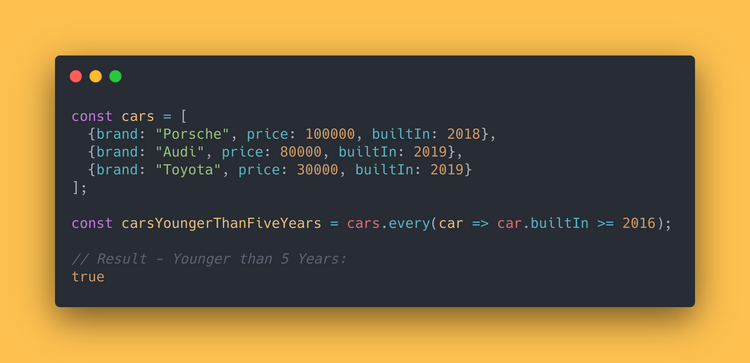
When to use Array.every()?
When you want to confirm that every item of an array passes an explicitly defined condition.
7. Array.some()
The .some() method is similar to the .every() method, but instead of returning true if all elements of an array pass the test, it returns true if at least one element passes the test.
If the .some() method finds a successful array element it stops and returns true. However, if .some() reaches the end of the array without success, it returns false.
Let’s use our cars array again, but this time we will be checking if some of the cars are older than 5 years.
const cars = [
  {brand: "Porsche", price: 100000, builtIn: 2018},
  {brand: "Audi", price: 80000, builtIn: 2019},
  {brand: "Toyota", price: 30000, builtIn: 2019}
];
const carsOlderThanFiveYears = cars.some(car => car.builtIn < 2016);
// Result - Older than 5 Years:
false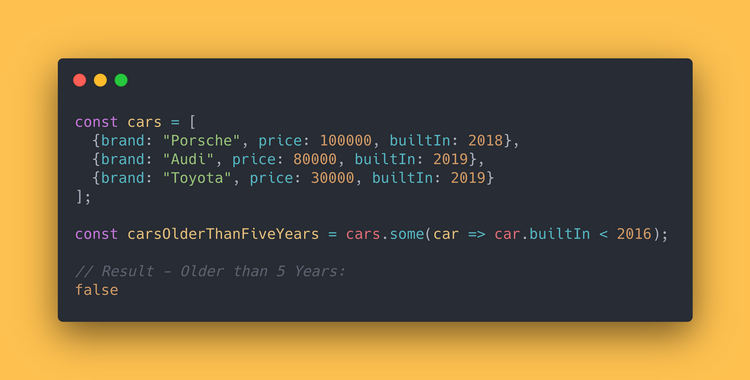
When to use Array.some()?
When you need to get the first item of an array that passes an explicitly defined test
Conclusion
Wow, JavaScript gives us a ton of different methods for dealing with arrays. Using these methods, you’ll be able to upgrade your JS development skills and make your codebase a lot more maintainable.
Heck, maybe you never need to touch a for loop again.
I hope you learned something new today!
Want to improve your JS skills even more? Check out my other article “10 JavaScript One-liners You Have Got to Add Your Arsenal as a Developer” or “What’s the difference between Event Handlers & addEventListener in JS”? to get even better at JS.
Have a nice day! 😄
That's an Egg
Personal blog by Twan Mulder.
Making your developer life easier, one article at a time.